
How to Switch to Dark Mode in Microsoft Excel
More and more people are activating dark mode on their devices, especially on apps like Excel that display a lot of white elements. If your eyes are sensitive to light, you spend a lot of time in Excel, or you’re working at night, switching to dark mode can help reduce your visual discomfort.
Before the January 2025 roll-out of dark mode in Microsoft Excel for Windows, you could switch to a dark theme, but only the ribbon and menus would turn black. However, now, you can turn everything dark—even the cells in your workbook—giving you that truly dark experience as you craft your spreadsheet.
At the time of writing (June 2025), full dark mode is only available in Excel 365 for Windows. If you select the dark theme in Excel for Mac or on the Excel mobile and tablet app, only the ribbon and menus darken, not the cells.

Related
To do this, first, change the Office theme in Microsoft Excel by opening your account settings within the app. If you’ve just opened Microsoft Excel, click “Account” in the bottom-left corner of the welcome screen.
Alternatively, if you’ve already started working on your spreadsheet, click “File” on the ribbon, and the Account button can be found in the same place as in the screenshot above.

Next, expand the “Office Theme” drop-down menu, and click “Black.”

As soon as you select this option, the Excel Account screen turns black.

However, when you open the spreadsheet view, by default, the cells are still white. This is because the black theme has two modes—light mode and dark mode—and you have to activate the latter through an additional step.
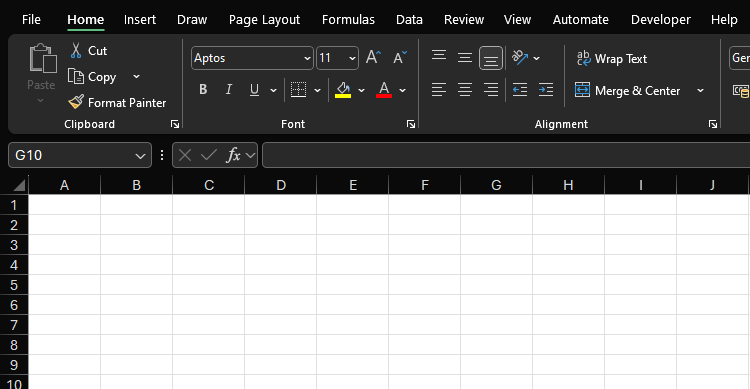
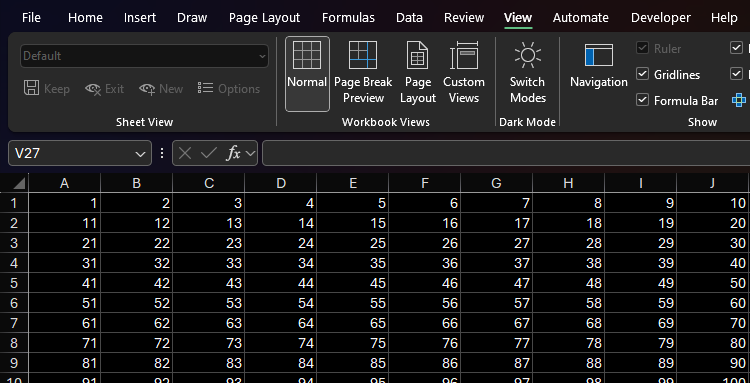
So, open the “View” tab on the ribbon, and click “Switch Modes.”
Now, the cells appear black, and any black data turns white.
Perhaps confusingly, if you fill any cells black, they’ll actually turn white! This is because dark mode is a direct inversion of the light mode. In other words, dark stuff turns light, and light stuff turns dark. This isn’t just the case for black and white—try filling a cell in light blue, and see how it actually adopts a dark blue fill.

However, it’s important to note that how things appear on your screen in dark mode won’t reflect how they appear on paper when you print. You can test this out by opening the print preview (Ctrl+P).


Related
9 Tips to Get Perfect Excel Printouts
Get the perfect print on the first try!
As a result, even if you prefer to use dark mode to construct your worksheet, switch back to light mode before you print, so you can check that everything appears as intended.
This is why you should add the Dark Mode button to your Quick Access Toolbar (QAT). To do this, right-click “Switch Modes” in the View tab on the ribbon, and click “Add To Quick Access Toolbar.”


Related
6 Quick Access Toolbar Must-Haves in Microsoft Excel
Perform your most valuable Excel commands with a single click.
Now, either a sun or a moon icon appears on the QAT, depending on whether light mode or dark mode is activated, and you can click this to quickly switch modes in the spreadsheet’s cell area.
If you can’t see the QAT above the ribbon, right-click any of the tabs, and select “Show Quick Access Toolbar.”
Alternatively, you could choose another option in the Office Theme drop-down menu:
-
Dark Gray
-
White
-
Use System Setting
-
Colorful

However, the option to switch to dark mode (with black cells)—both via the View tab on the ribbon and the QAT—is only available when you select “Black” from this menu. If you select “Dark Gray,” “White,” or “Colorful,” this only affects the appearance of the ribbon, and the cells will stay white.
If you select “Use System Setting,” Excel will use the same mode as your Windows settings. For example, if your system is in light mode, Excel will appear as if you have activated the white theme. On the other hand, if your system is in dark mode, Excel will adopt the black theme, with the option to turn full dark mode on and off via the ribbon or the QAT.

Related
How to Enable Dark Mode on Windows 11
Turn off the lights.
Finally, clicking “Colorful” changes the ribbon to the app’s accent color. For example, in Excel, the ribbon turns green, and in Word, it turns blue. This makes it easier to differentiate between different Microsoft Office programs if you have more than one open at the same time.
Follow the steps in this guide to activate dark mode in Microsoft Word for Windows and Mac—simply turn on the black theme in your account settings, and toggle dark mode on and off in the View tab on the ribbon. You can also enable dark mode in Microsoft Edge by clicking the three dots in the top-right corner of the browser window, selecting “Settings,” and choosing “Dark” in the Appearance menu.